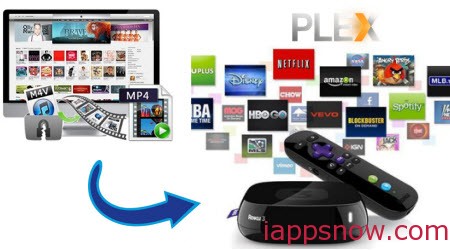
As the growth of multimedia devices, more and more people like to buy digital movies from online retailers, Amazon, Nexflix, especially iTunes, and then entertain themselves at home with media players, or on portable devices on the move. With the digital movie copies, there is no limit on space or time for video or movie enjoyment, and you can watch movies on mobile phones, tablets, computers, and use Roku 3 as a top-up box for your Plex media center to stream all your videos.
While, you may find it a painful experience to stream iTunes movieon Roku 3 via Plex since iTunes downloaded videos is not compatible with Roku 3 box. As we know, iTunes videos can only be syncing within iOS devices, including iPod, iPhone, iPad and Apple TV. Meanwhile, iTunes purchased and rental videos are DRM protected in order to limit its range of uses after purchase. To digitize iTunes movie to Plex Media Server for Roku? You have to remove DRM protection from iTunes purchases or rentals, and then convert iTunes to Roku 3/Plex compatible format.
With the best iTunes DRM Removal – Pavtube ChewTune, you can easily accomplish that within few clicks. Overall, it is an amazing DRM remover to help you remove DRM from iTunes movies, and then you can steam all of them on Roku 3 via Plex with lossless quality preserved. In addition, the program has outputs with optimized settings for your portable device like iPad Air, iPhone 6, Samsung Galaxy Tab 3, Galaxy Note 4, etc. You just need to select the device as the output format and you can convert iTunes movies to fit your device without further settings.

 (Click here for Mac OS X 10.5)
 Hot search: iTunes to Xbox 360 | iTunes to PS4 | iTunes to NAS | iTunes to TV | Plex Problems & SolutionsGuide: Streaming iTunes video to Roku 3 with Plex
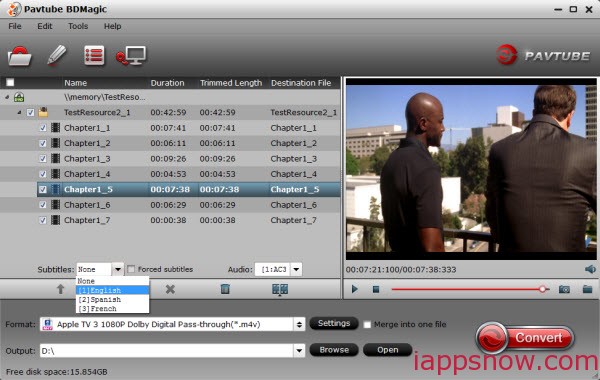
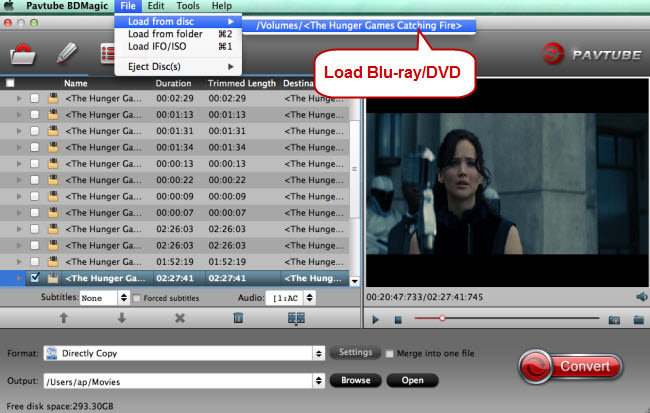
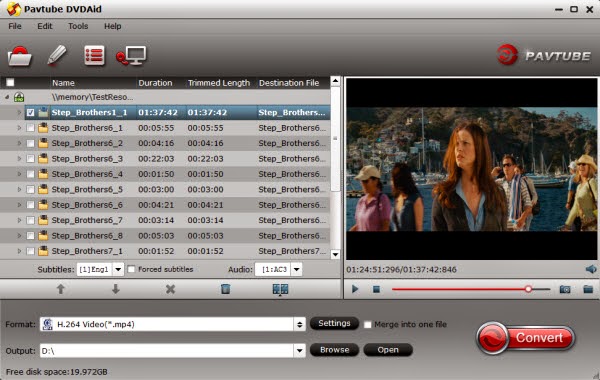
Step 1: Add iTunes M4V video from iTunes library to iTunes DRM Removal tool by clicking the “Add video” on the software main UI.
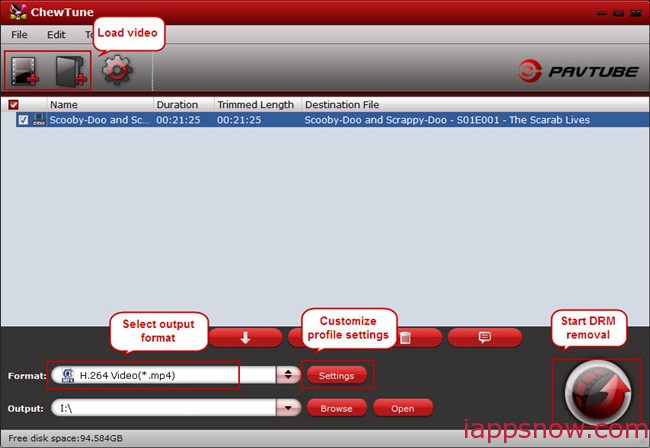
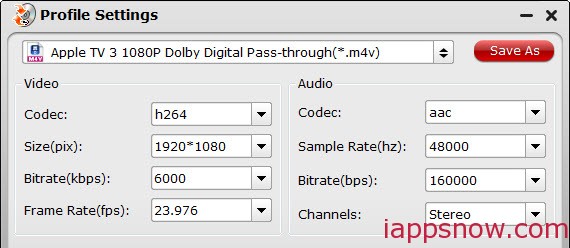
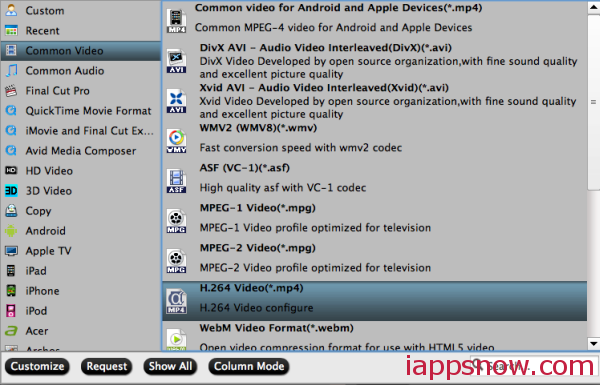
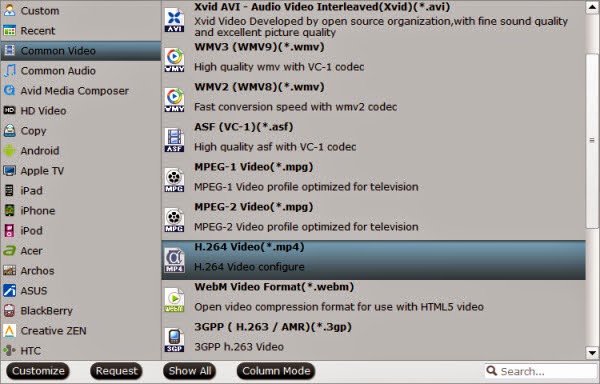
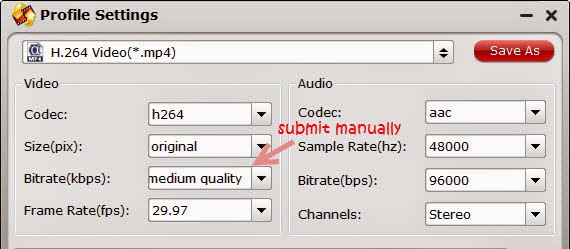
Step 2: Choose “Common Video > H.264 Video (*.mp4)” from Format drop-down list as output format. By choosing the preset, you can customize video size, bitrate, frame rate, audio sample rate, channels, and more parameters in Profile Settings to get a perfect backing up on Plex Media Sever and a satisfying enjoyment on Roku 3.

Step 3: Click “Convert” button to start removing iTunes DRM protection to Roku 3. When it is done, open output folder, find DRM-free MP4 video there.
Step 4: Stream iTunes video to Roku with Plex.
- Install Plex server on your computer. Once the Plex server is installed successfully, it will detect all of the movies, television shows, and music on your computer.
- Install Plex server on Roku 3. First you’ll need to download and install the Plex Channel on your Roku. Because it’s not a default channel currently, so we have to do this manually on Roku website under your Roku account.
- Configure Plex on the Roku. You have to configure the Plex server before streamingthe videos on the computer.
Then you can better watch the digitized iTunes movies on Roku 3 via Plex Media Sever.
More
Play MKV, AVI, MP4, FLV, WMV, MPG, MOV by Chromecast
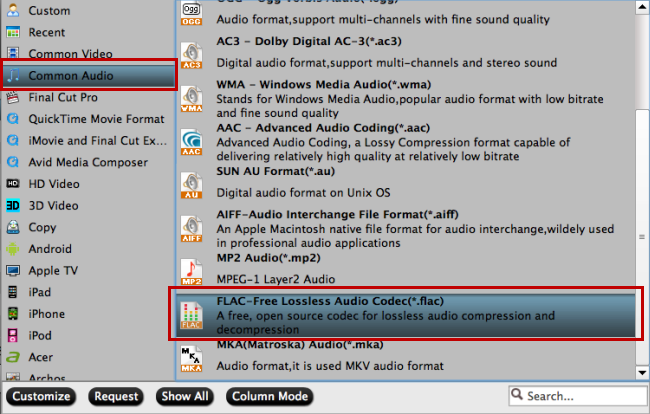
Rip DTS-HD track to FLAC 5.1 audio using Plex
Upload Blu-ray to Dropbox for Sharing
Backup DVD onto Synology DS216play Via Mac El Capitan
How to watch 3D Videos on Galaxy Note 4 with Gear VR
Blu-ray to iTunes Converter -Sync Blu-rays to iTunes for Apple Devices
Watch iTunes Movie on Android Tablet or Smartphone
Play Blu-ray ISO with HEVC MP4 on Mac OS X El Capitan
Src
How to digitize iTunes movie to Plex for Roku 3